Your wardrobe, made to measure.
Choose the shape, the dimensions and every detail. The drawing updates as you make your choices. The quote is prepared after we have reviewed the project.
Measurements and type
Enter the measurements and shape of your wardrobe
How to complete this step
In a few minutes you will have your wardrobe drawn up and ready to request a quote. There is no need to be exact: we take the final measurements at your home before anything is made.
- Choose the shape that most closely matches your space.
- Say whether the wardrobe is fitted into an alcove or freestanding.
- Enter the width, height and depth in millimetres (300 cm = 3000 mm). You can also type «240 cm» or «2.4 m».
- Move on to the next step: you can go back whenever you like without losing anything.
Frequently asked questions
- How do I measure?
- Measure the width at three points (bottom, middle and top) and the height on the left and on the right, then use the smallest measurement. The depth runs from the back wall to where you want the front of the wardrobe to sit.
- What if I don’t have exact measurements?
- Enter approximate measurements: they are fine for the design and a first idea of cost. We take the final ones at your home, before manufacture.
- Which shape should I choose?
- Straight: along a single wall. Under-stairs or Sloping ceiling: the height changes from one side to the other. Corner / L-shaped or U-shaped: takes up two or three walls. Other shape: you describe it and we look at it with you.
- Fitted or freestanding?
- Fitted: goes between walls; you give the measurements of the alcove and we allow for gaps and trims. Freestanding: the sides are visible; you give the outside measurements of the wardrobe.
- What depth do I need?
- For hanging clothes on hangers, 600 mm is typical. Under the «Depth» field you will see the minimum for hanging with the doors you have chosen.
- How do I enter a sloping ceiling or an under-stairs space?
- Enter the height on the left and on the right, as seen from the front; one of the two can be 0. «Swap sides» switches them over.
These measurements are a starting point. Enter your own or confirm that they match your space.
Measurements
From side to side, along the front. In mm: 300 cm = 3000 mm.
From the floor to the ceiling or to the top of the wardrobe.
From the front to the back wall.To hang clothes with sliding: minimum depth 596 mm.
3 sections · 3,000 mm
Special features (optional)
Example values: change them to your own measurements.
Would you rather we went through it with you? Tell us about your project.
What this tool does
Think of the configurator as an order notebook that you fill in at your own pace. Each step records a decision and, at the end, they are all gathered into a single summary. It is the starting point for a conversation with a real person: it means that chat begins with clear details rather than a bare "I want a wardrobe".
You can go back, change a door or move a rail without losing the rest. If there is something you haven't decided yet, just flag it and it can be sorted out later with the team.
The steps, one by one
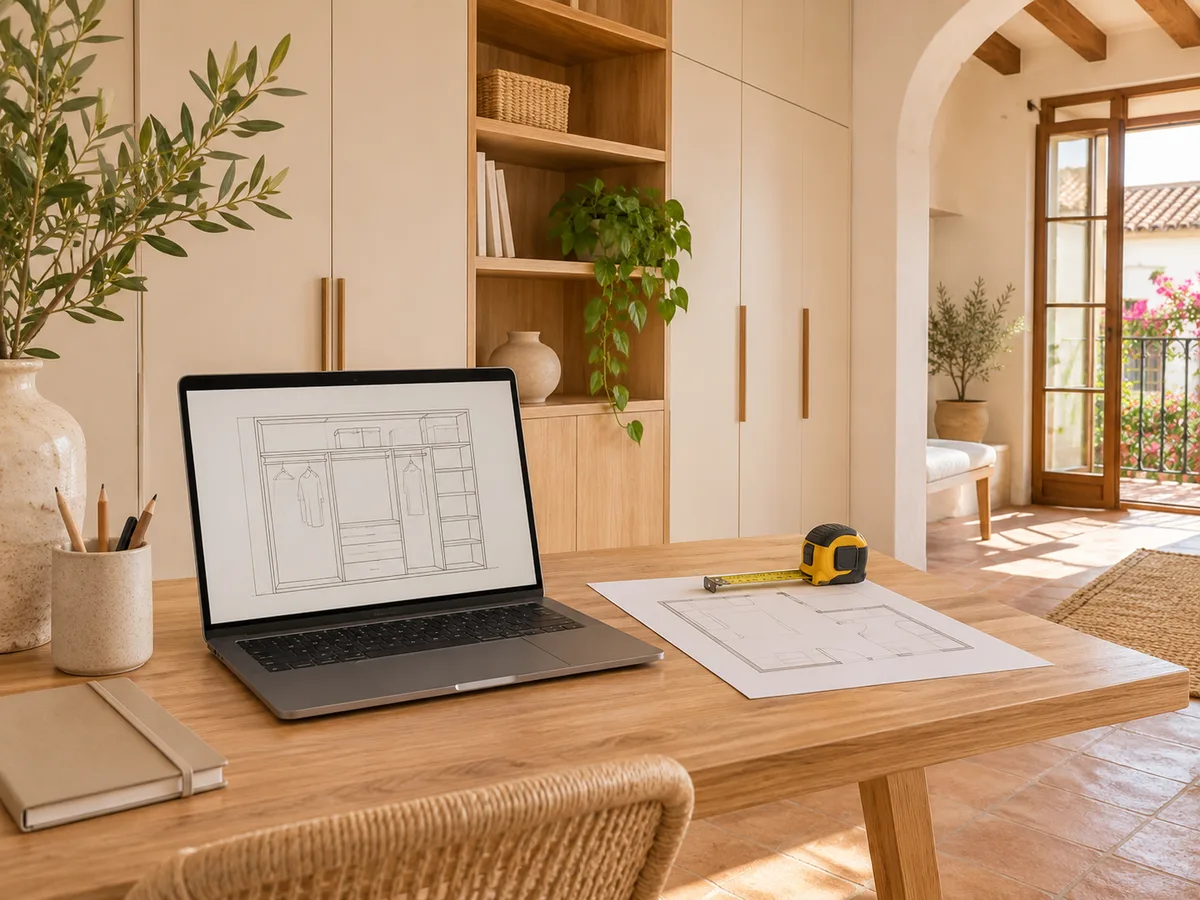
First you tell us the type of project and the approximate measurements: width, height and depth of the space. Then you choose how the doors open and how the interior is laid out, with hanging rail areas, shelves and drawers. The third step covers the finish and the town where it will be installed, for example Nerja or a nearby village in the Axarquía. The last step is the review: you see everything together and decide whether to send it.
Have you already measured the space?
Send us a photo and the approximate measurements on WhatsApp and we'll give you some initial guidance.
Approximate measurements: how much do you need to know?
- 01
You don't need to have measured to the millimetre. A tape measure and a couple of minutes by the wall are enough to get started. Measure at three different heights, because walls and ceilings in homes are rarely perfect, and note down the smallest figure if there are differences.
- 02
The figures you enter are checked afterwards. If any of them doesn't match what can be made, the team will tell you when they reply and you can adjust it together.
What the team receives when you press send
When you finish, the tool prepares a WhatsApp message with your complete configuration, written in an easy-to-read format. You see it before sending it and can add photos of the space or a comment of your own. It is sending it, not the calculation on screen, that kicks off the assessment of your project.
The guide price and how it is worked out in Nerja
The configurator doesn't show any figures while you work. It is the team who study your configuration and send you a guide price within 24 hours of receiving it with the measurements. That first figure depends on what you have chosen: dimensions, type of doors, number of drawers and finish.
It is a guide to help you decide whether the project fits what you had in mind. The final price comes later, after we measure up at your home.
From configuration to measuring visit
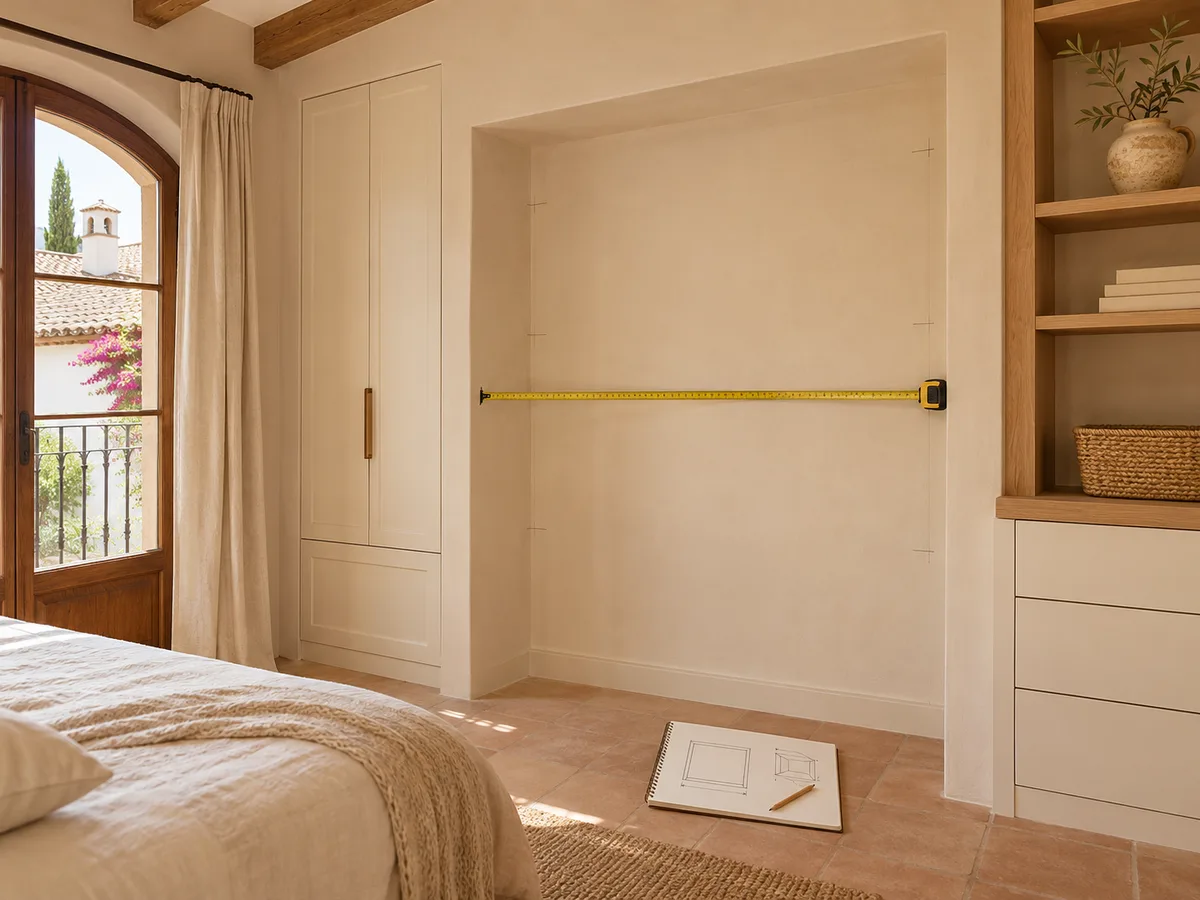
Once the guide price seems reasonable to you, the measuring visit is arranged. It costs €50 if you end up not ordering the wardrobe, and it is not charged if you go ahead with the order. The final quote is drawn up from the real measurements and, once accepted, manufacturing takes an average of two to three weeks; the installation is agreed separately.
If your case doesn't fit the options
Some projects can't be solved with tick boxes: a sloping ceiling, a space with a pillar, a wall with a window. In those cases, configure what you can, write anything special in the comment and attach a photo. You can also skip the configurator and use the request a quote page, where you can describe your idea in your own words.
Questions
Frequently asked questions about wardrobes in Nerja
Can I see the price on the configurator screen?
No. The configurator prepares the design and sends it; the team works out the guide price when they receive it and let you know via WhatsApp.
Do I have to give my phone number before I start?
You don't need to in order to configure. WhatsApp is only used in the last step, when you decide to send the design.
What if I'm missing some measurements?
Send what you have and mention it in the comment. With some approximate figures and a photo, we can already give you an initial guide.
Can I change the configuration after sending it?
Yes. Tell us in the same conversation what you want to change and the proposal will be updated before we move on to the visit.
Can the configurator be used for a walk-in wardrobe?
Yes, you can say that it is a walk-in wardrobe and describe the areas you need. Cases with unusual shapes are fine-tuned when you talk to the team.
Your idea is the first step.
Would you like us to go over your wardrobe with you? Tell us what you need and we'll agree the details during the visit.
If you've already put your design together, use "Send project via WhatsApp" in the configurator to share your selections.